I am in no way affiliated with KKW Beauty or any other products mentioned below or in my video. All products were purchased on my own, and all opinions are my own.
Hello, November! (Seriously, who else can’t believe it’s already November?!) A new month means it’s time for a brand new Flawless World beauty pick of the month! This month I’m shining a spotlight on a new product I’ve been using for about a month and a half now, and have fallen in love with: the KKW Beauty Powder Contour and Highlight Palette. Although I recently did a review on my latest KKW Beauty haul, this is one product that I’ve absolutely fallen in love with, and wanted to go into more detail as to why! Below I break down what the product is, why I’m loving it, and how I use it. Keep reading until the very end to watch a step-by-step video tutorial as well.
what is it?
powder contour + highlight palette:
[From the KKW Beauty website]: “Contour, shade, sculpt and highlight with the KKW Beauty Powder Contour & Highlight Palette. The soft, buildable powder formula makes application easy and blends effortlessly for a seamless look. The pressed powder quad features two matte contour shades, ideal for sculpting hollows of cheeks, hairline, nose and jawline, and two shimmer highlight shades for brightening and adding glow to cheekbones, cupid’s bow, nose, corners of the eyes, collar bones and any areas you want to add radiant shimmer. Layer the two shimmer highlight shades for a more intense glow.”
PRICE POINT: $44, 4 X 0.26 OZ (4 X .75G)
MY SHADE: MEDIUM
WHY I’M LOVING IT:
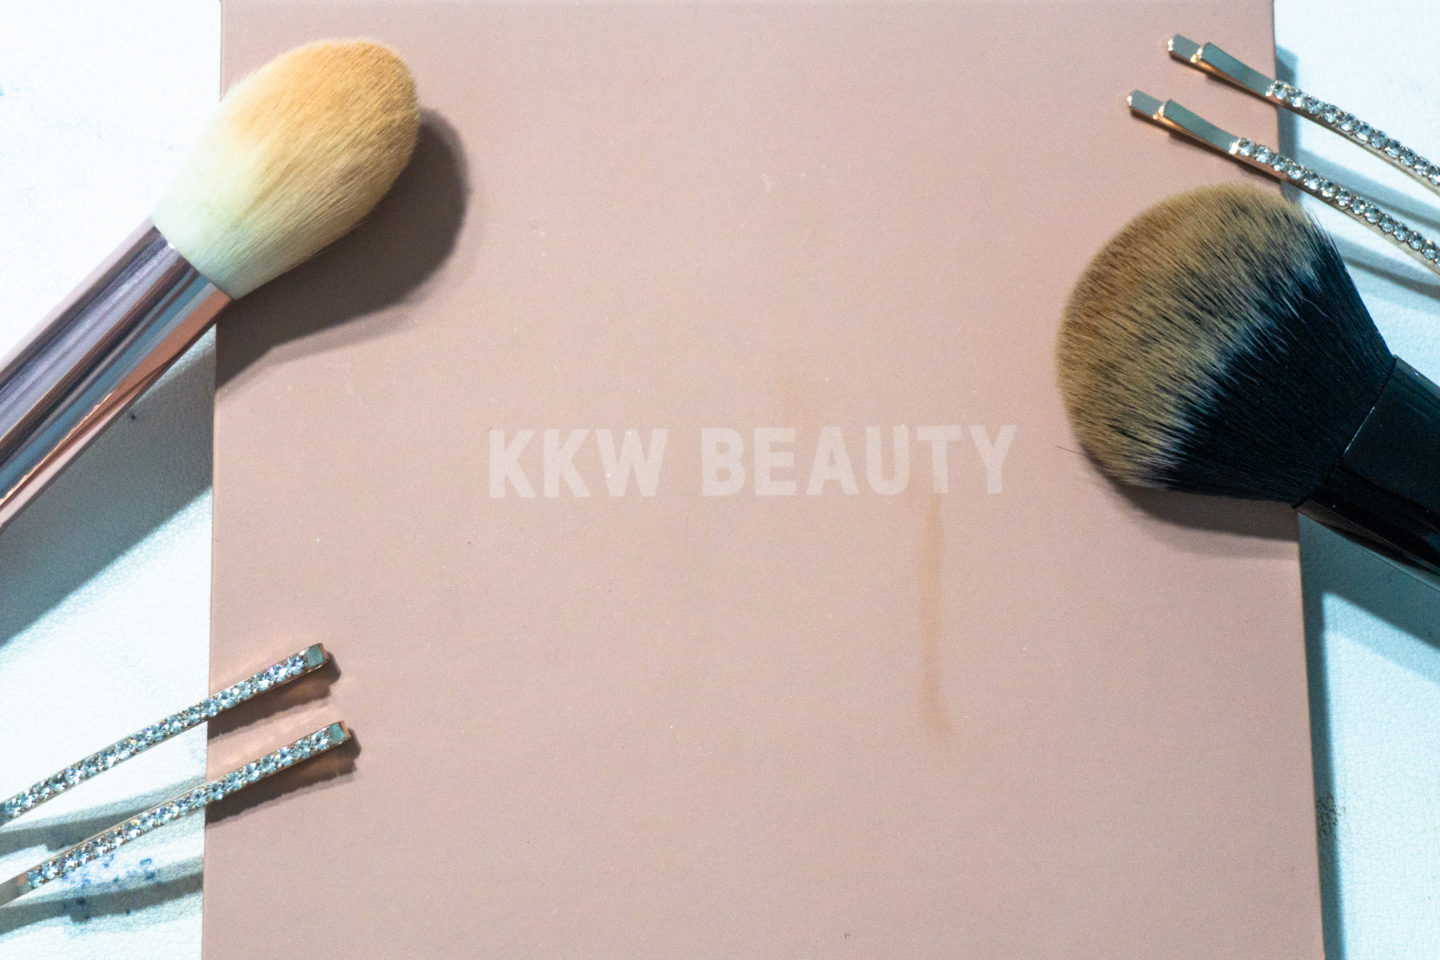
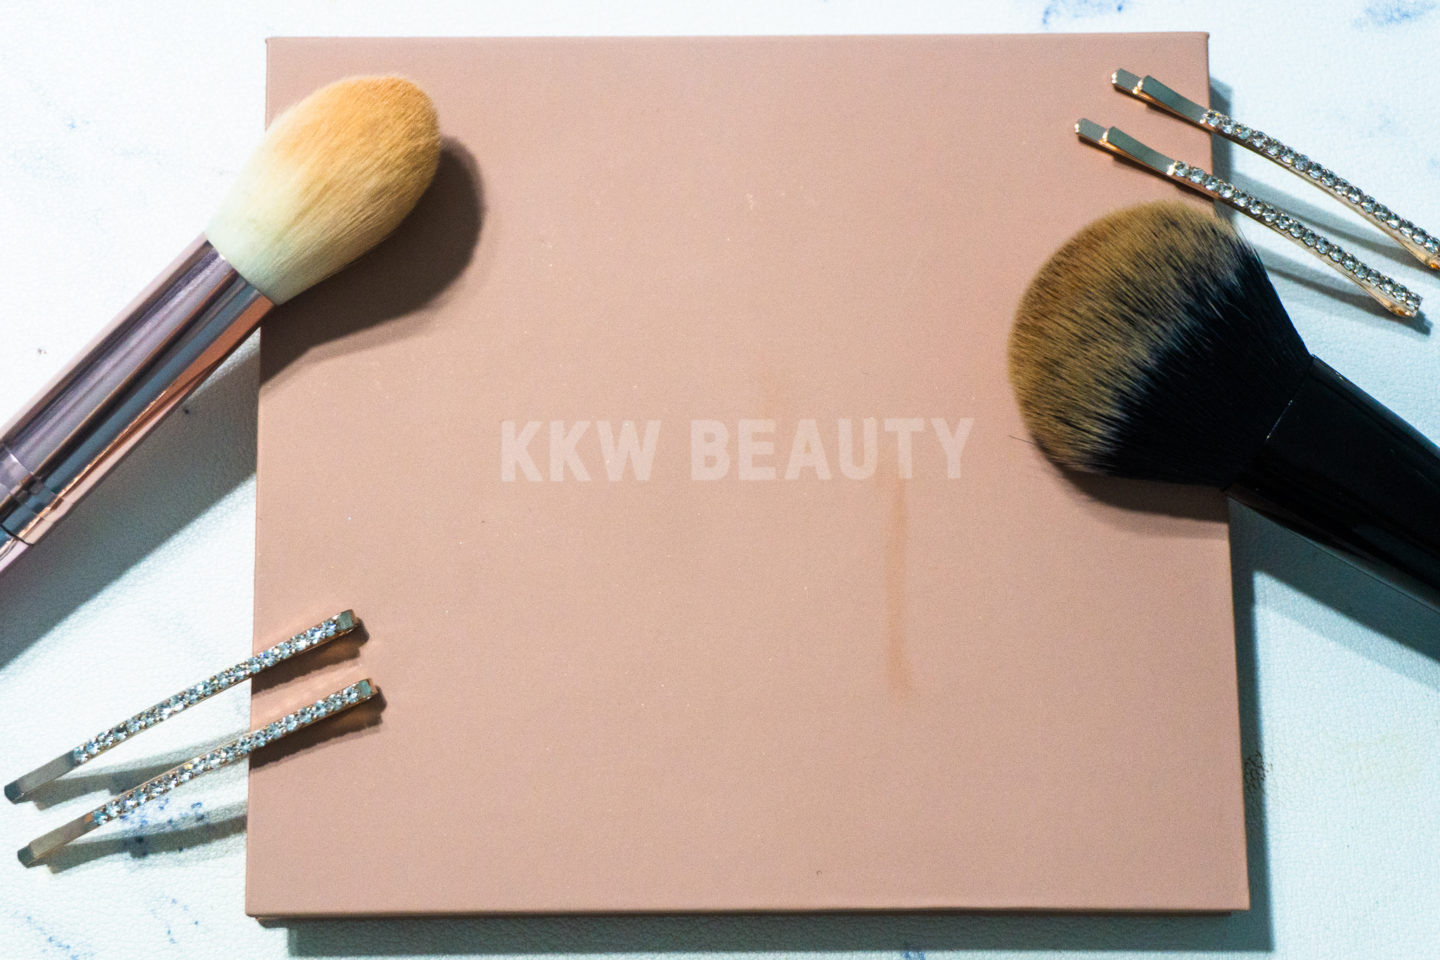
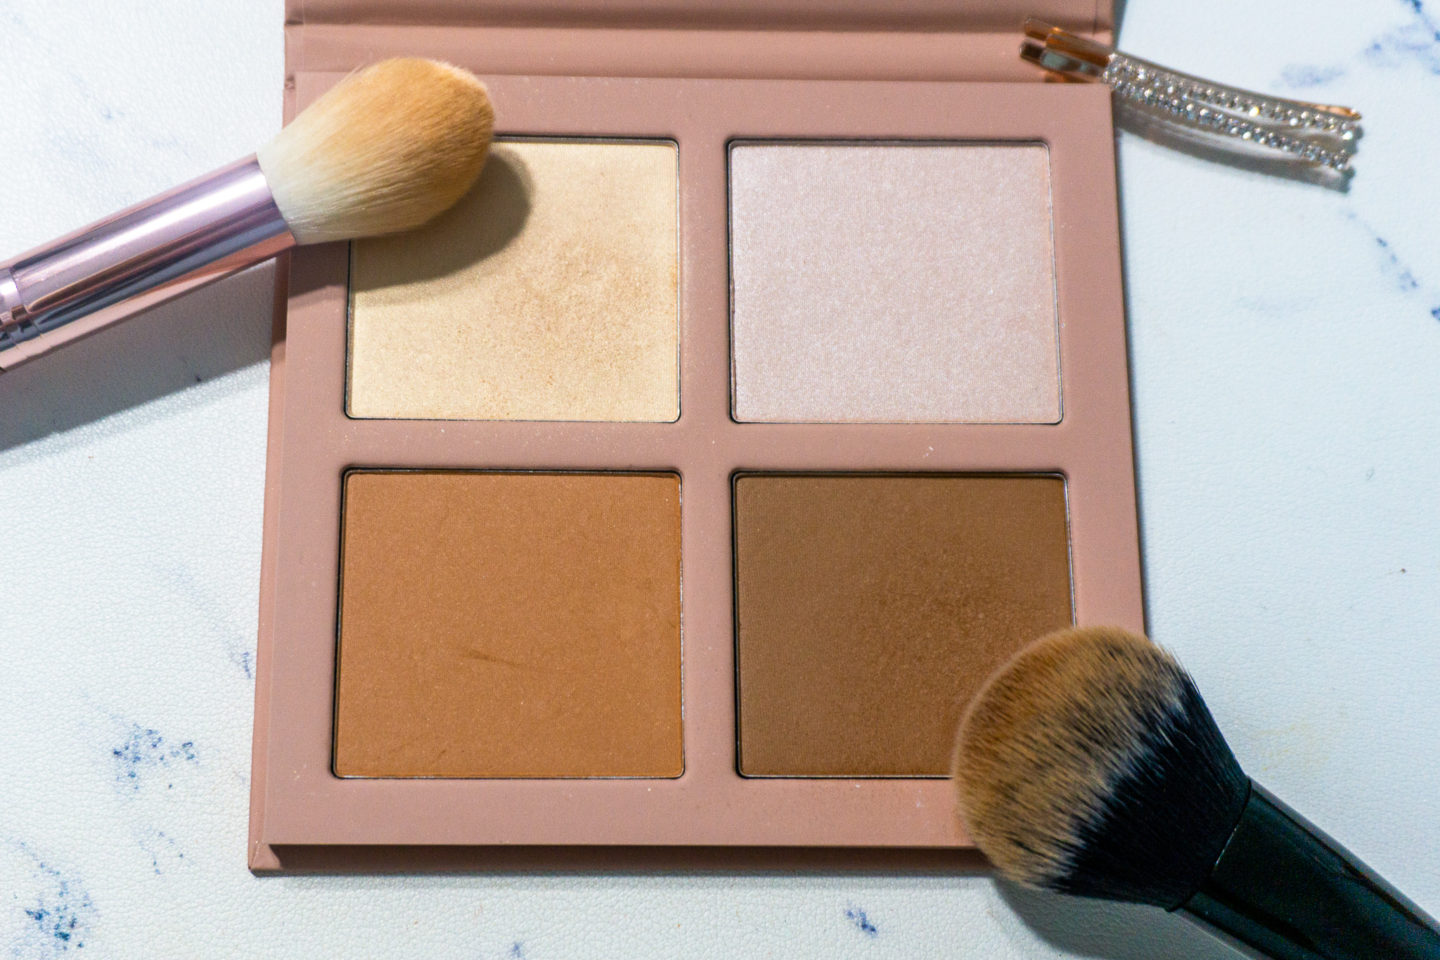
Pictures don’t do this palette justice—it is a very good size, especially considering the price point. I love how big it is, and the fact that it comes with a mirror. It’s so aesthetically pleasing. *insert heart eye emoji* It’s great for when you’re on the go and are ever in need of a touch-up, as it has both contour and highlight shades. I also feel like it’s great for all levels of makeup expertise, IMO. Let’s break down what I love about the highlight shades and the contour shades.
Highlight:
I love the fact that there are two highlight shades that are great for medium skin tones. I’ve been dipping into Highlight I for my face, and have been using Highlight II for the inner corner of my eyes. Another thing that I love about these shades is that they give you the most beautiful glow. It’s a more subtle highlight, not overpowering, but you can still tell that it’s there. The formula is so buttery and soft, it’s heavenly. Also, a little goes a long way! I only dip into the palette once for each side of my face and I’m good to go! I’ve recently started highlighting my nose with the first shade—something I’ve never done before—and have been loving it.
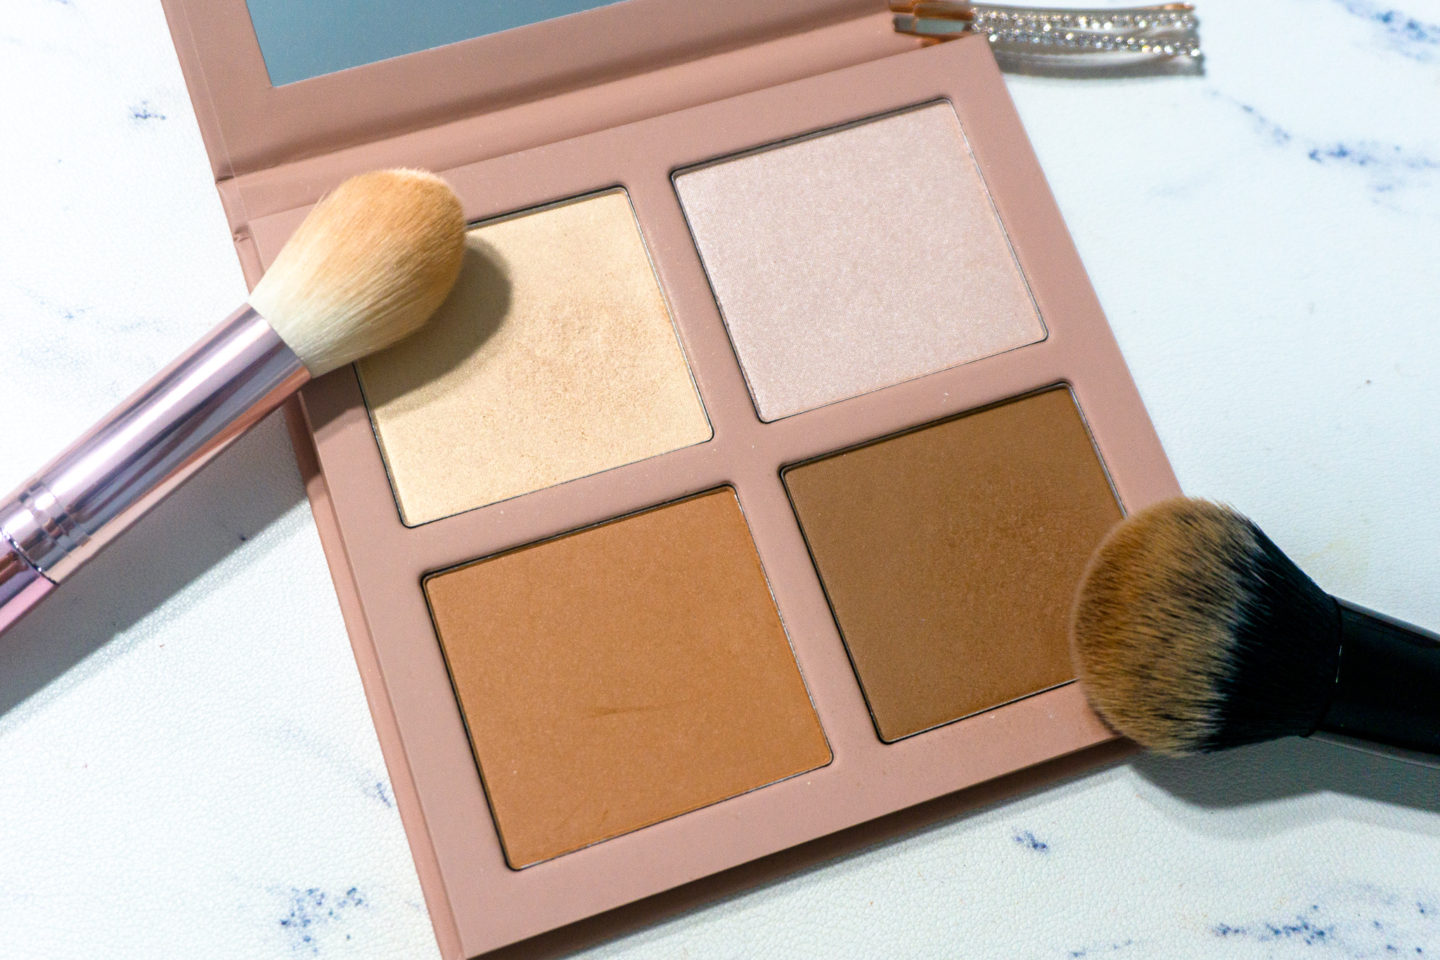
(FROM LEFT TO RIGHT) TOP ROW: HIGHLIGHT I + HIGHLIGHT II; BOTTOM ROW: CONTOUR I + CONTOUR II
Contour:
When I started learning more about makeup, I originally stuck to only powder contour. However, when I stumbled upon cream contour, I instantly fell in love, and ditched the powder contour for what I viewed as a more seamless, finished look. As I got more into makeup and expanded my knowledge, I realized that sometimes adding powder contour over cream can create a more defined, chiseled look, which is how I came to this palette.
I love the fact that I have two contour shades I can use year-round. The lighter shade for the winter months, and the darker shade for the warmer ones. I’m obsessed with the formula of these shades as well. Like the highlight ones, these are as equally buttery and soft, they really blend like a dream. Not only do they blend out easily, they’re also buildable. I love the way the powder contour adds depth and definition to the face.
How i use it:
Highlight:
Step 1: Take highlighting brush and dip into desired shade (I use Highlight I) by lightly tapping in the brush. Tap off excess.
Step 2: Highlight desired areas of face.
Step 3: Take a smaller brush and dip into the same highlight shade. Tap off excess.
Step 4: Highlight along the bridge of nose and underneath brow bone.
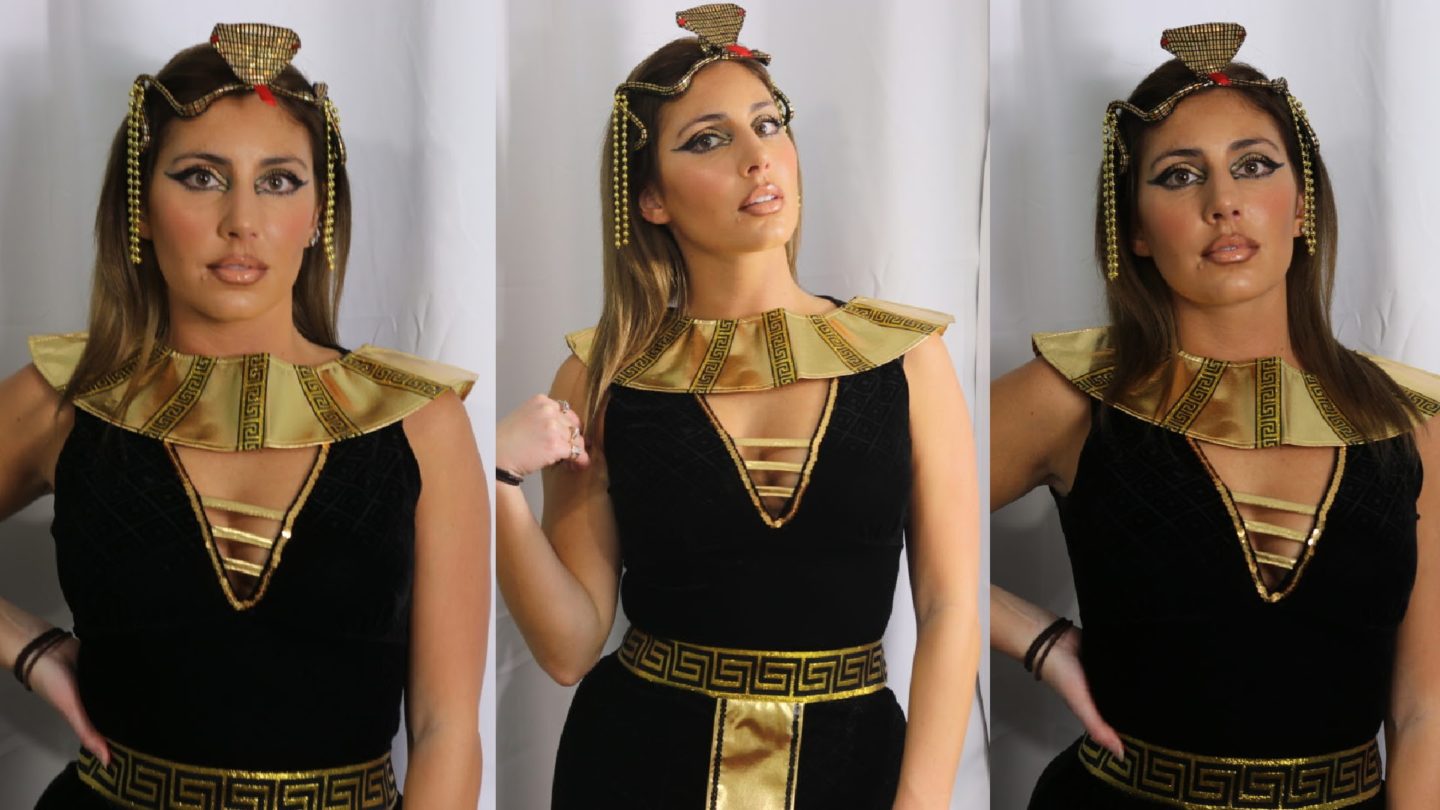
PICTURED BELOW: WEARING CONTOUR II ALONG FOREHEAD, UNDERNEATH CHEEKBONES, AND ALONG/UNDERNEATH JAWLINE; WEARING HIGHLIGHT I DOWN BRIDGE OF NOSE.
Contour:
As I said, I use this mainly to layer over my cream contour for a more defined and chiseled look, and also as my main contour on my forehead. Here’s how I do it, step-by-step:
Step 1: After applying cream contour and setting powder, take brush and dip into desired contour shade. (I use Contour II.) Lightly tap brush into product, and tap off excess.
Step 2: Apply product on top of areas that have been contoured already by taking the brush and blending in a back-and-forth motion.
Step 3: Apply contour along forehead using the same technique.
Tip: If contour starts to look muddy, try one of two things:
- Take brush or sponge with foundation already on it and lightly tap over the powder contour to blend it into the skin. This will help diffuse harsh lines and make it look more natural.
- Take a dry sponge and lightly tap into skin on top of product. This will help soak up any excess product and also help diffuse the contour as well.
How i use it:
Click here to see how I use this product, step-by-step.

I really like your writing style, excellent info , appreciate it for posting : D. Suzette Iain Pamelina