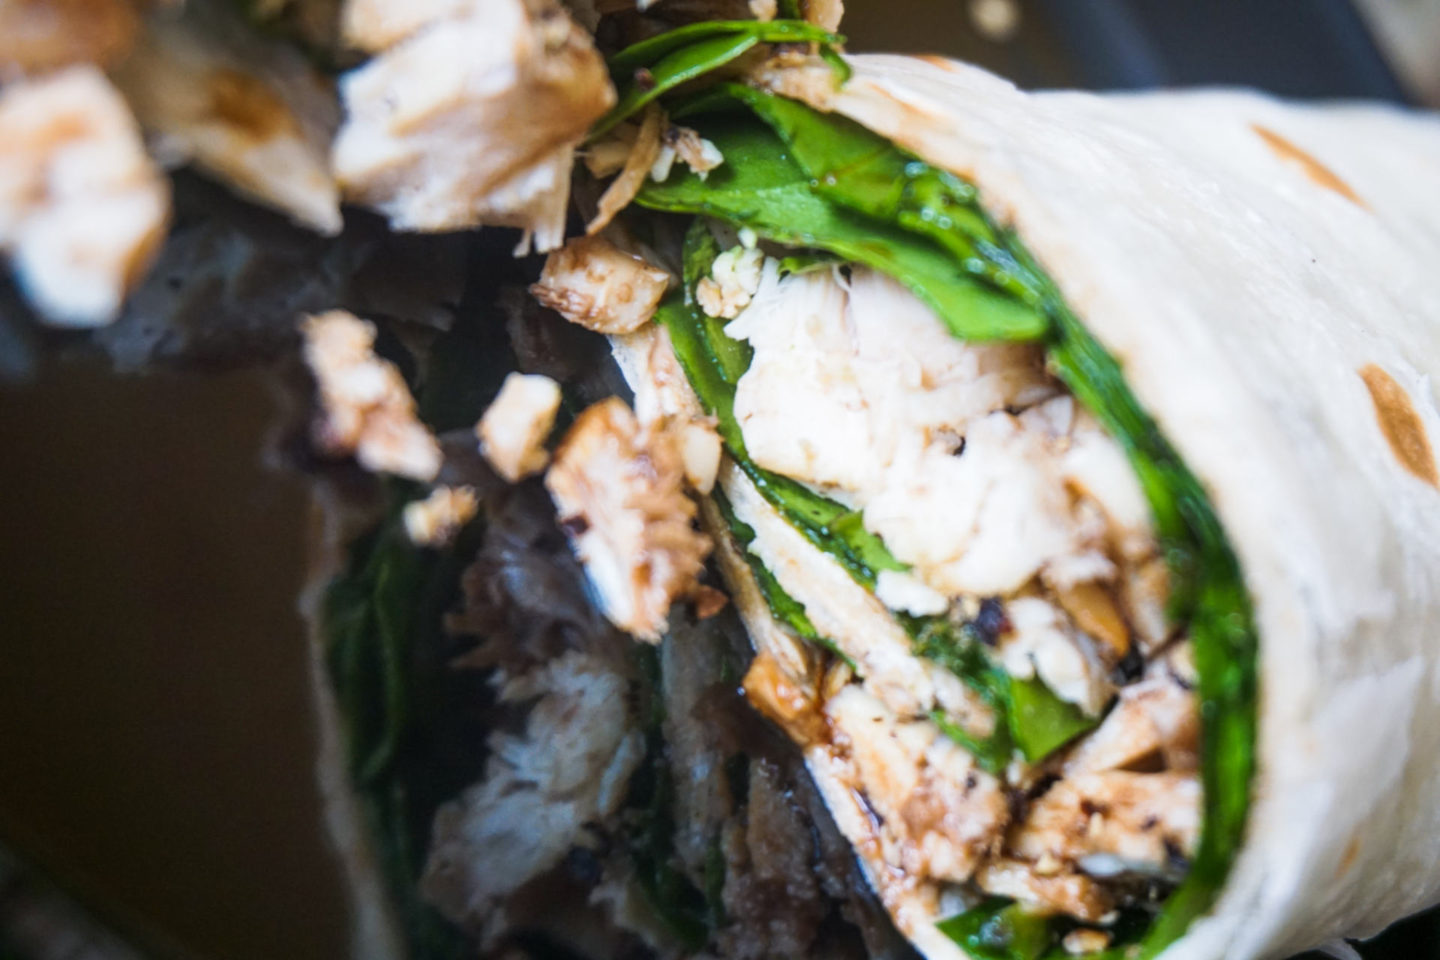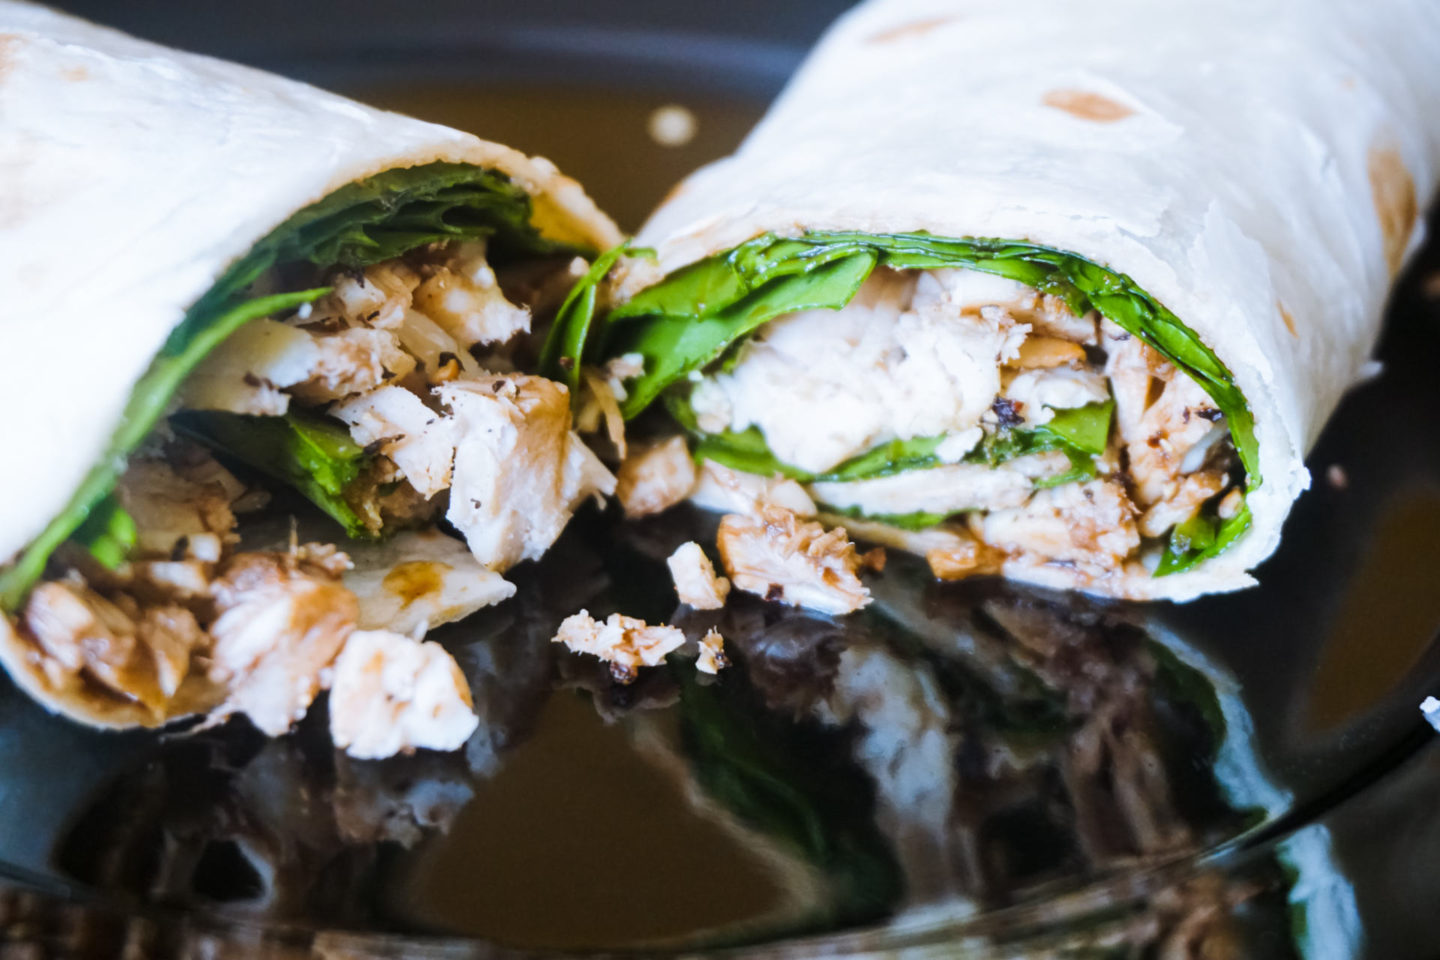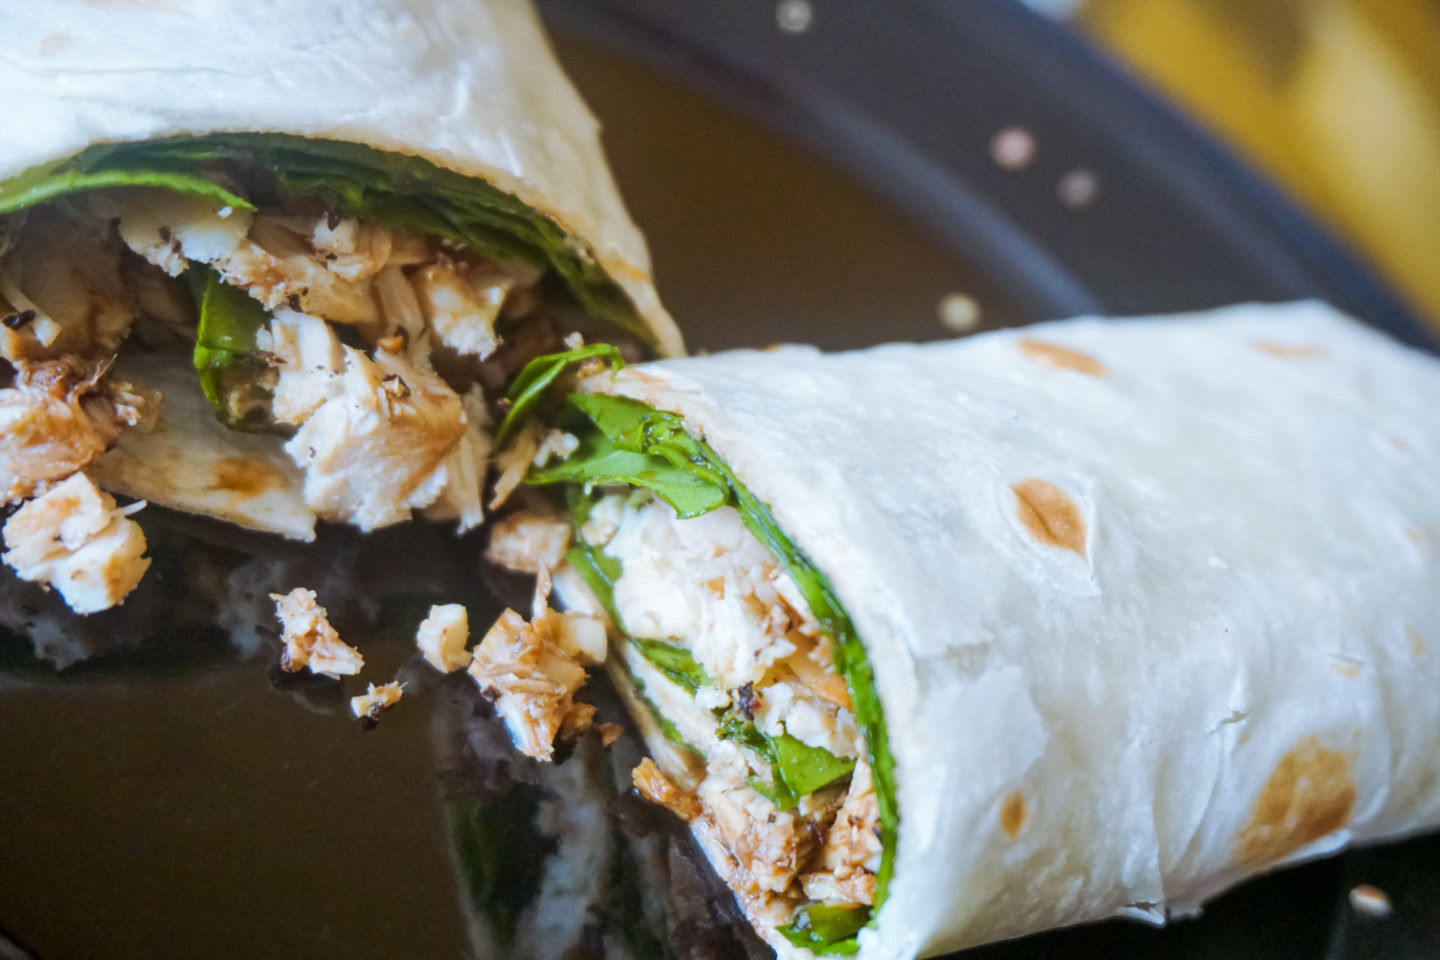
Anyone who knows me knows how much I love my lunchtime wraps–my dedication to them is hardcore. I’m pretty consistent with what I eat for breakfast and lunch daily, but I recently switched up my wrap game and have been loving this tasty, healthier option. Keep reading to learn the recipe for my chicken balsamic wrap. Warning: it’s delicious and tastes healthy.
My Go-To Lunch Wrap:
Ingredients:
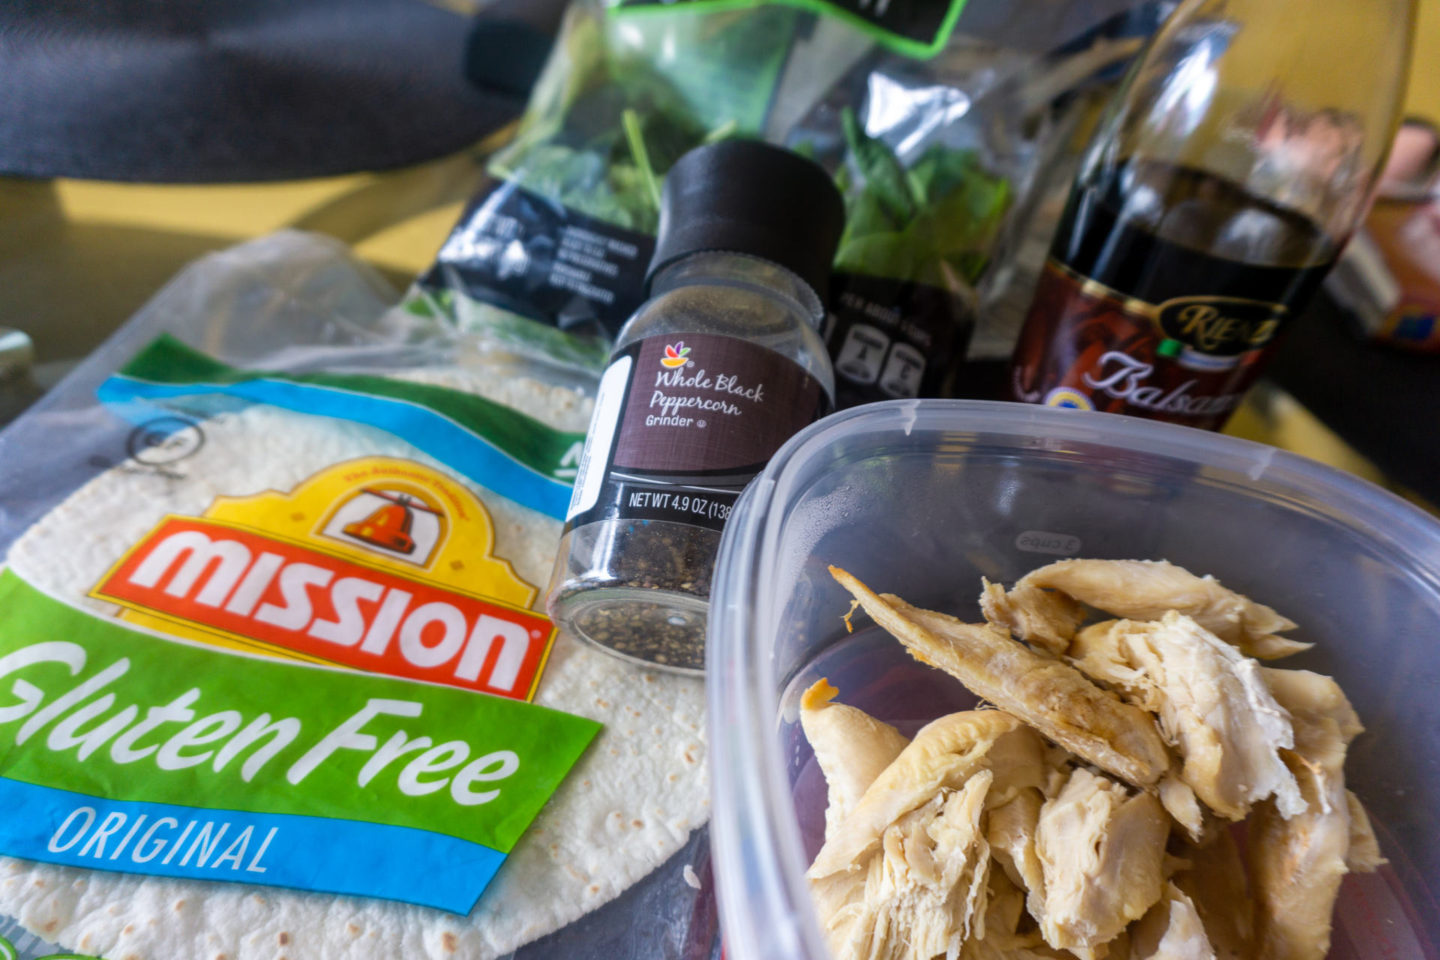
WHAT YOU’LL NEED:
- Chicken (cooked to your liking, I keep mine plain so I can season it to my desire whenever I eat it)
- 1 gluten free tortilla (I have to be gluten free but you can substitute a regular tortilla if you prefer!) I love gluten free wraps from Mission
- Baby spinach
- Balsamic vinegar
- Black pepper
Instructions*:
*I eyeball everything so exact measurements won’t be included. There are step-by-step pictures. If you have any questions, feel free to DM me on Instagram or leave a comment down below! No one in my family uses exact measurements, we eyeball everything!
HOW-TO:
- Cut desired amount of chicken into small pieces (as shown below).
- Tip: keep the pieces long and thin so they lay better in the wrap!
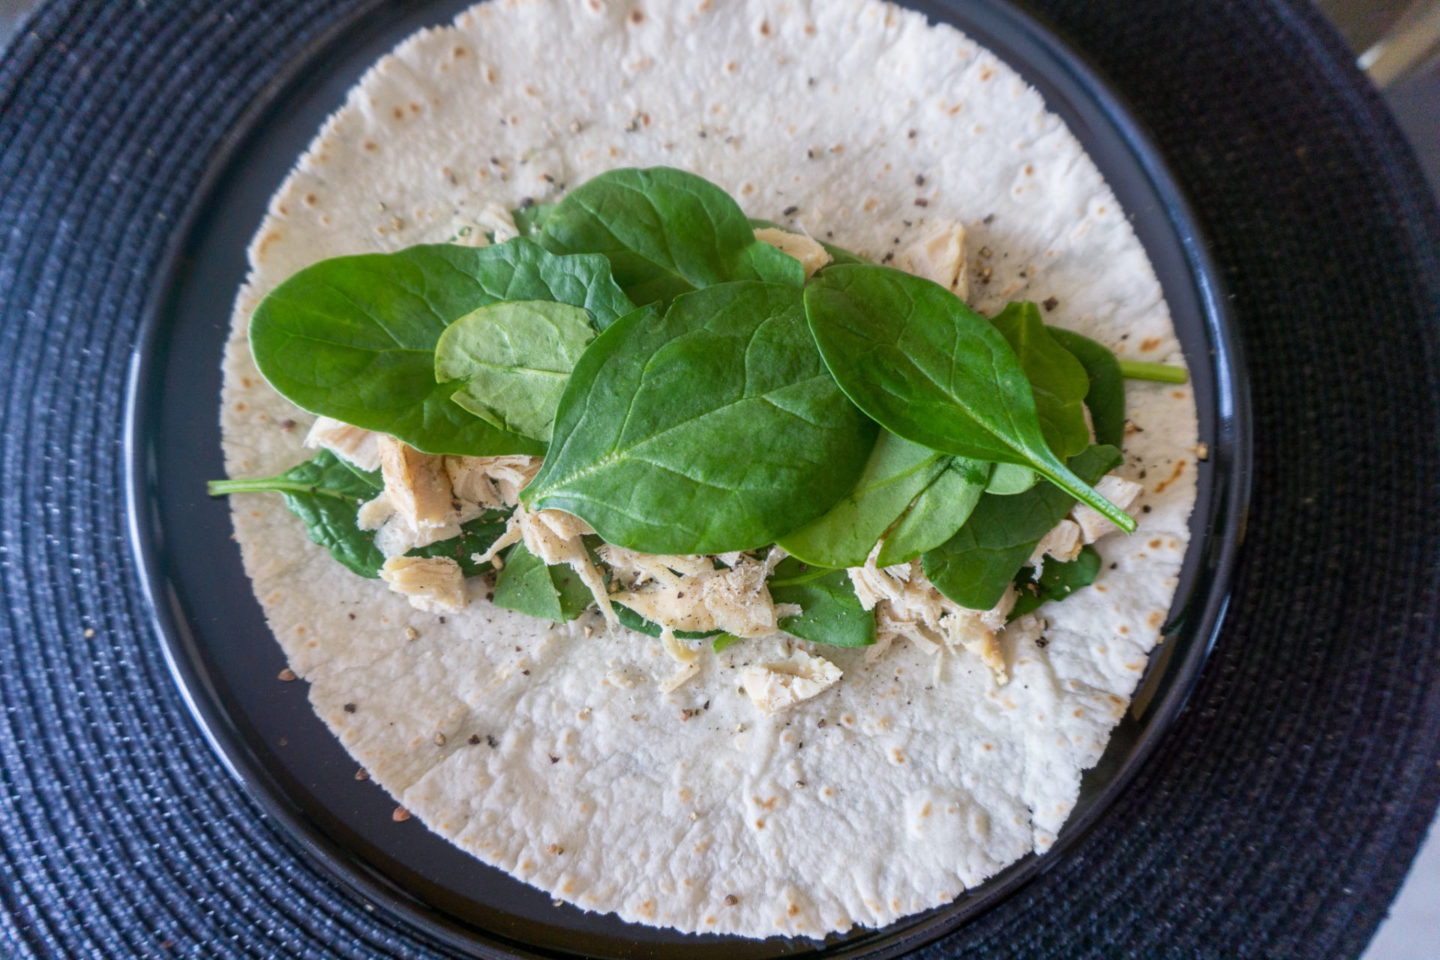
- Take wrap and spinach, and lay spinach across the center of wrap.
- Place chicken on top of spinach as evenly as possible.
- Sprinkle black pepper on top of chicken and spinach.
- Note: I prefer a lot, but you can use as little or as much as you want!
- Place some more baby spinach on top of chicken.
- Drizzle balsamic vinegar on top.
- Tip: if your balsamic vinegar pours out heavily, try pouring it into a small spoon (about the size of a teaspoon), then drizzle. Repeat until you’re satisfied!
- Tip: less is more! Start small and add more gradually. Balsamic vinegar can sometimes be acidic and harsh on your stomach; so if you’re unsure of how your body will respond, start with a delicate amount.
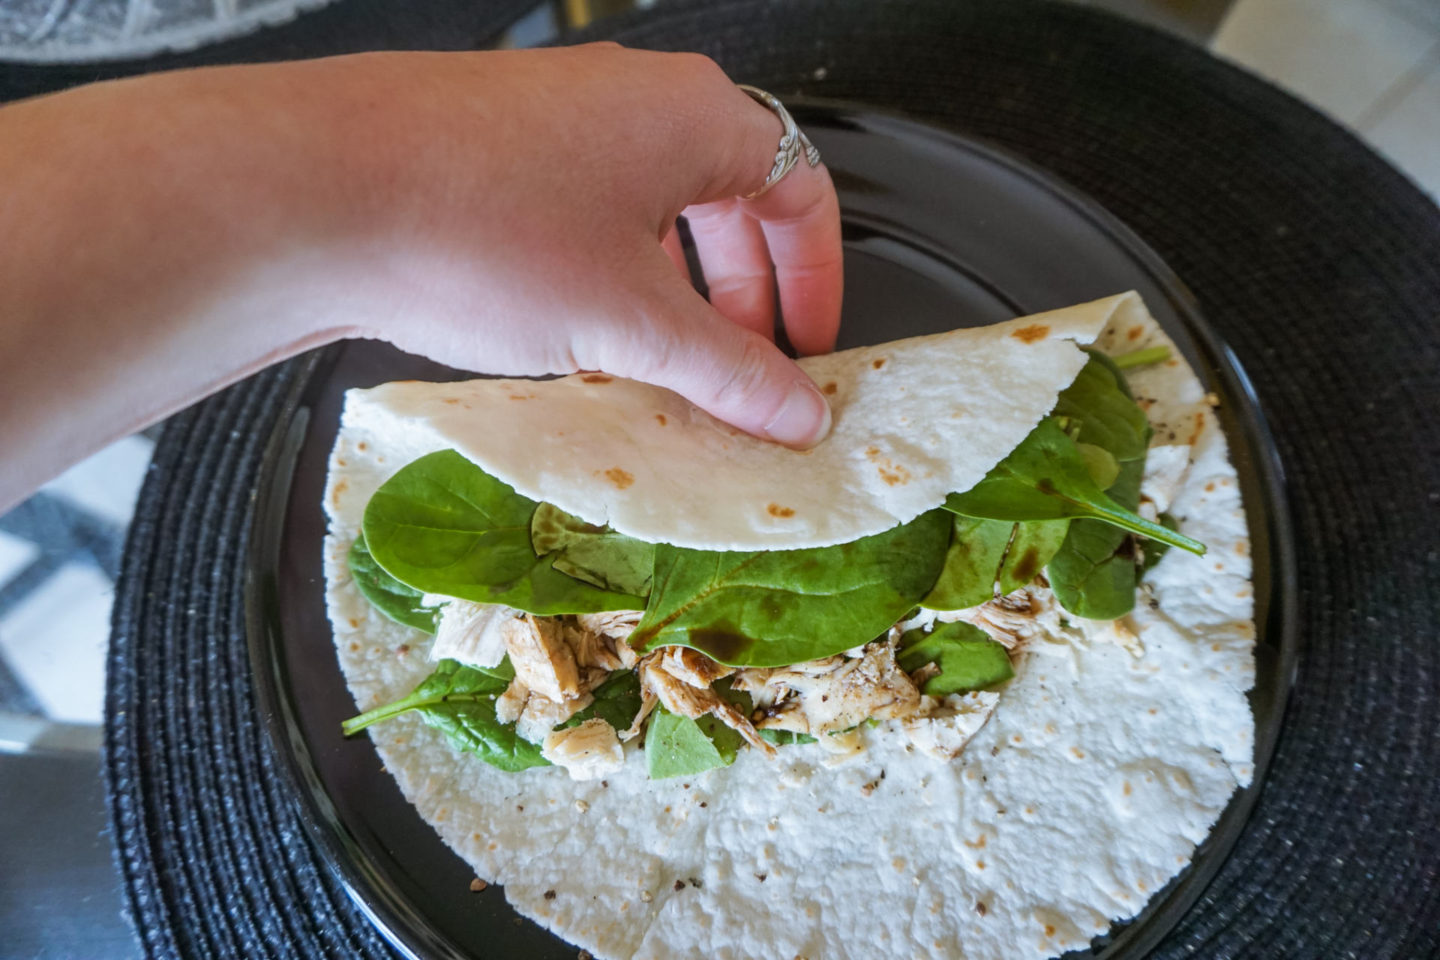
- Roll up wrap.
- Tip: try to do 1-3 rolls max, and make the first roll big (as pictured below) so you can avoid losing chicken and spinach.
- Side note: it may be slightly uneven, but that’s okay!
- Slice in half and enjoy!
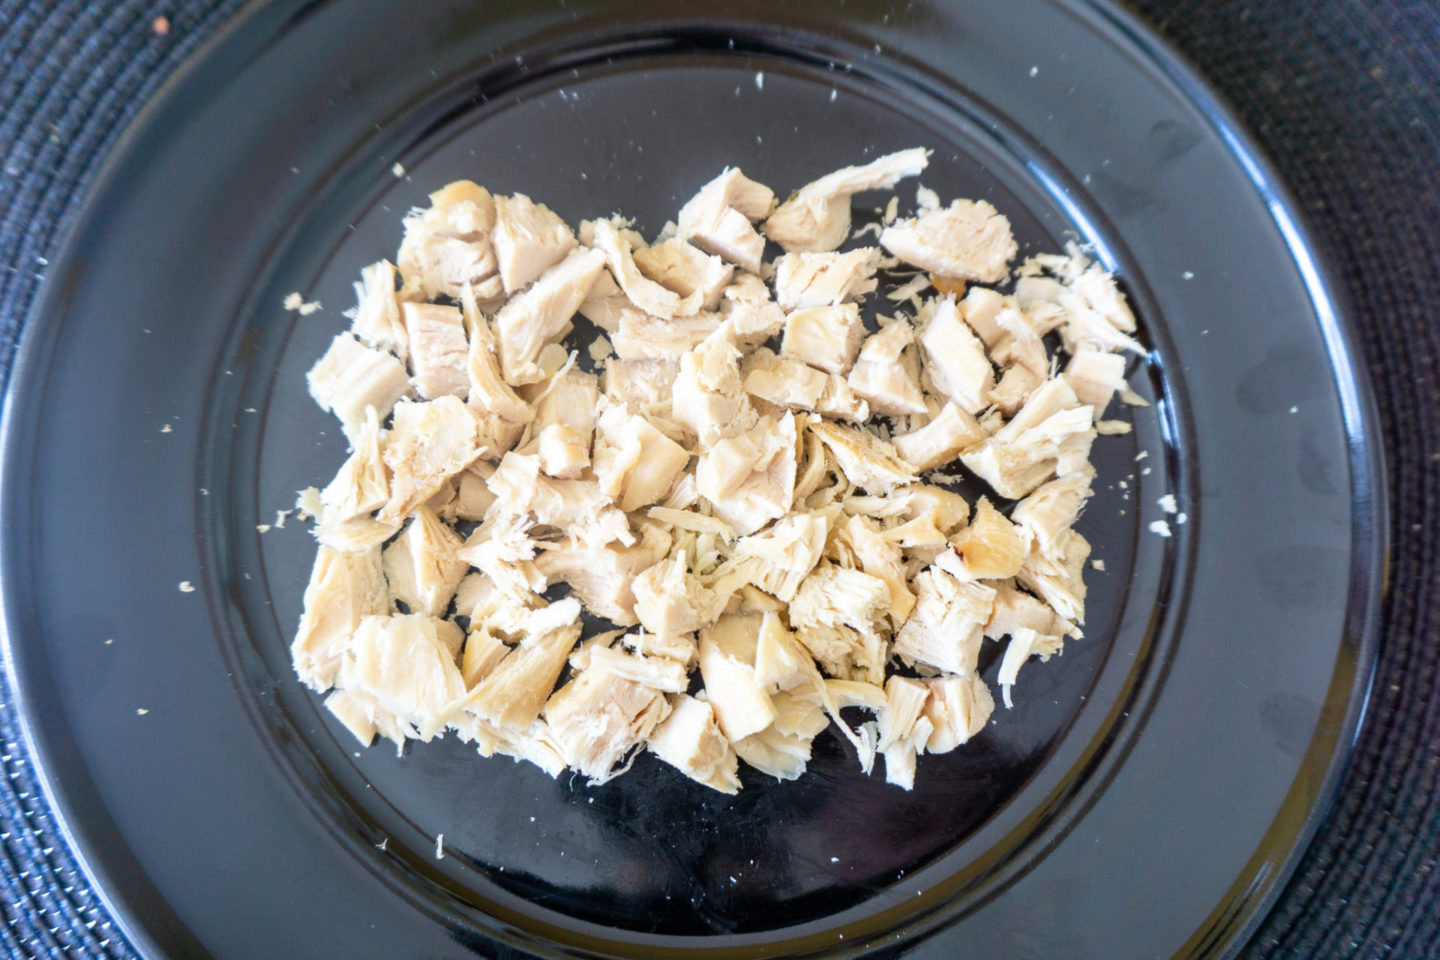
Step 1 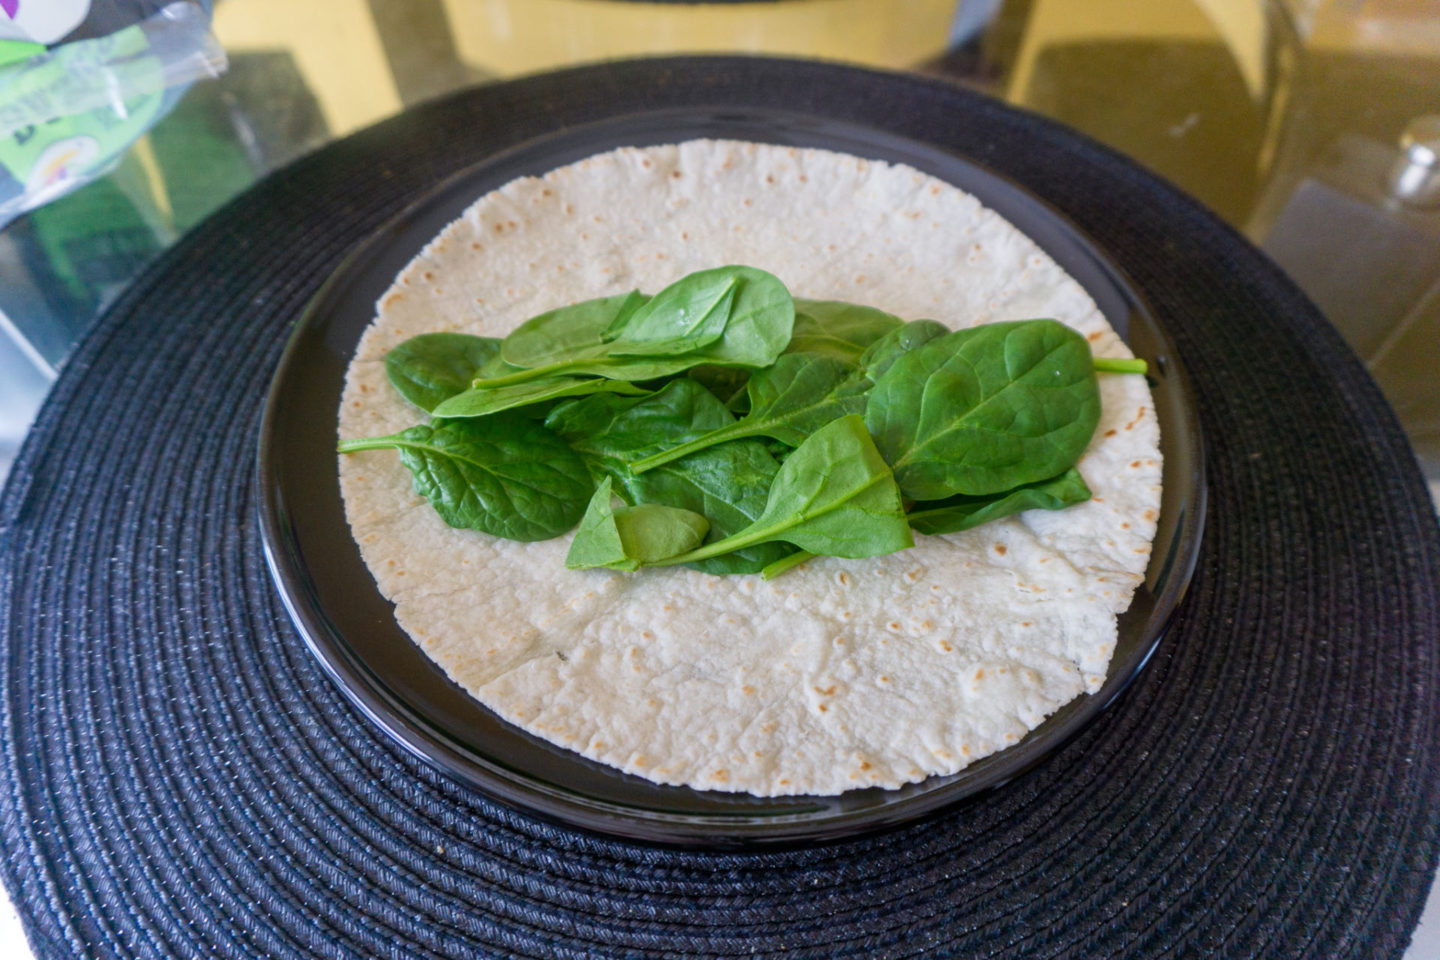
Step 2 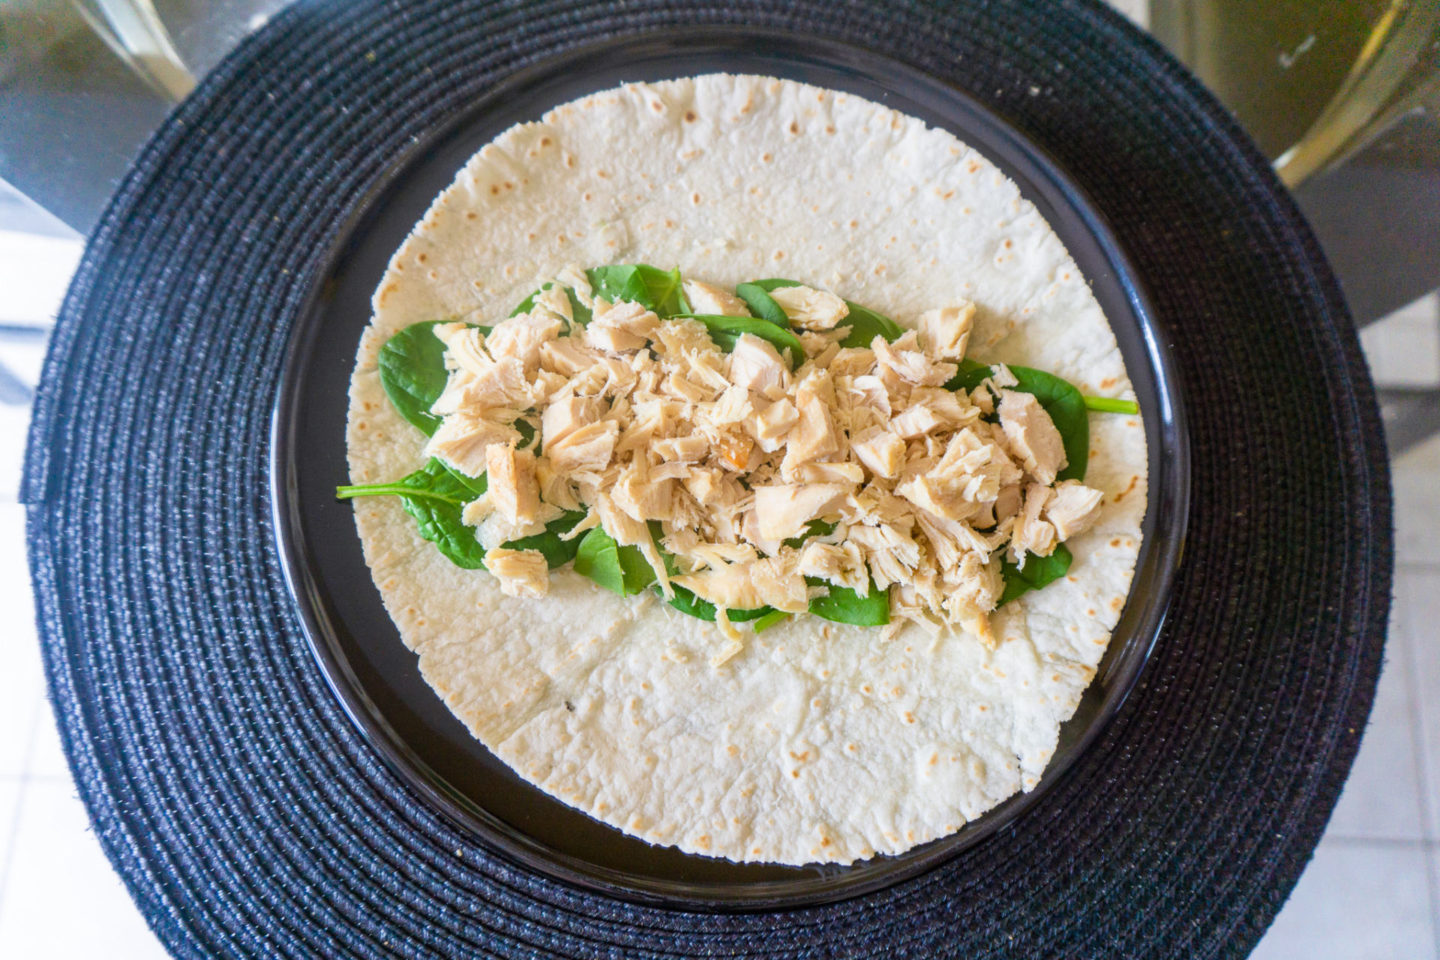
Step 3
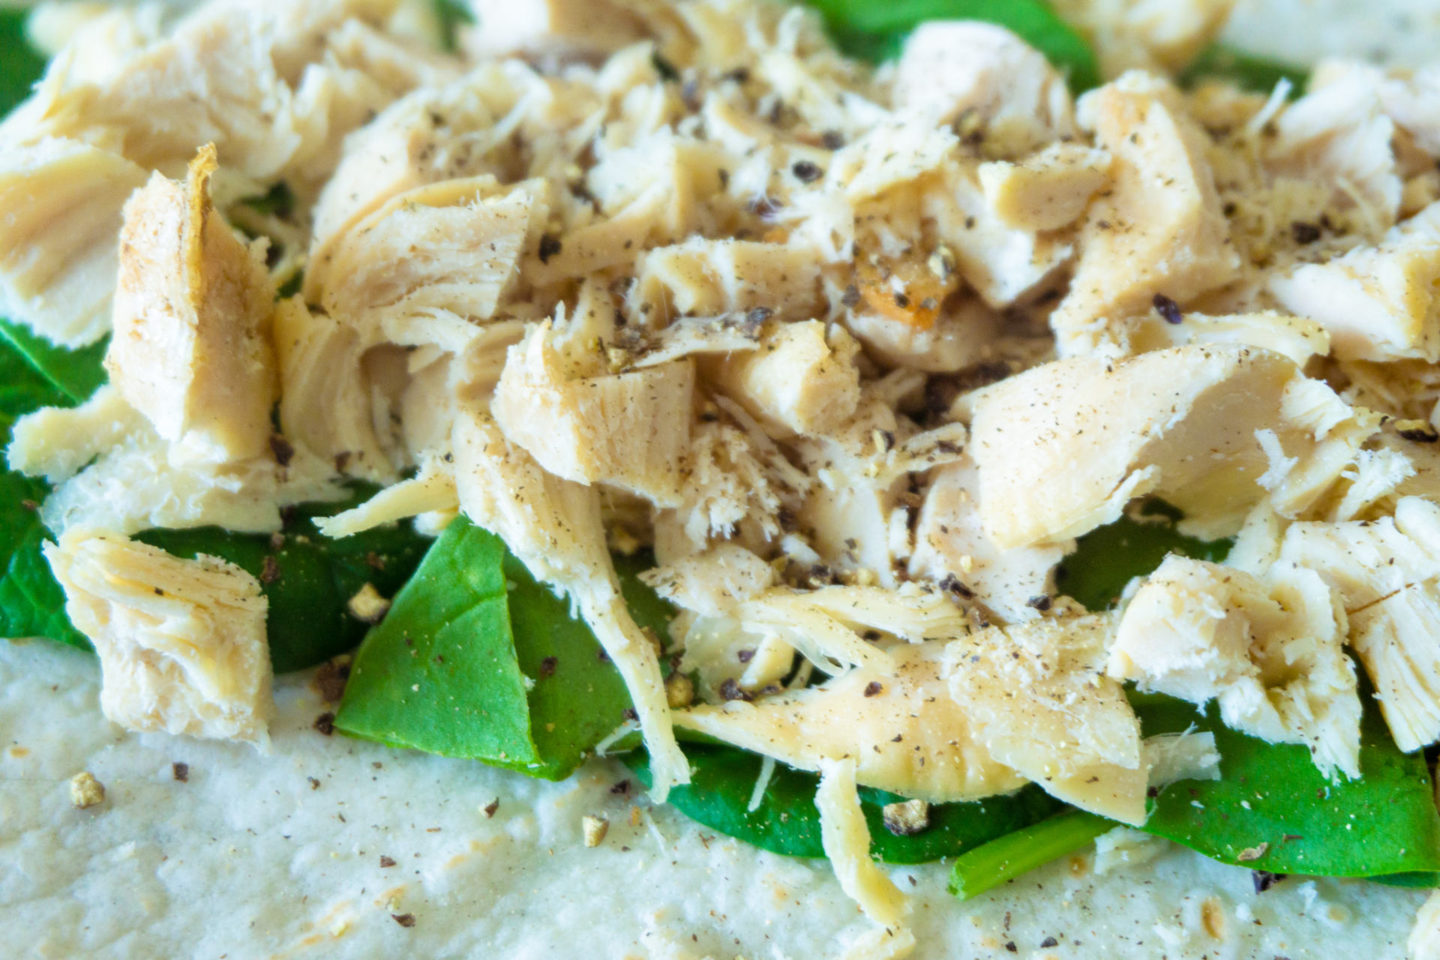
Step 5 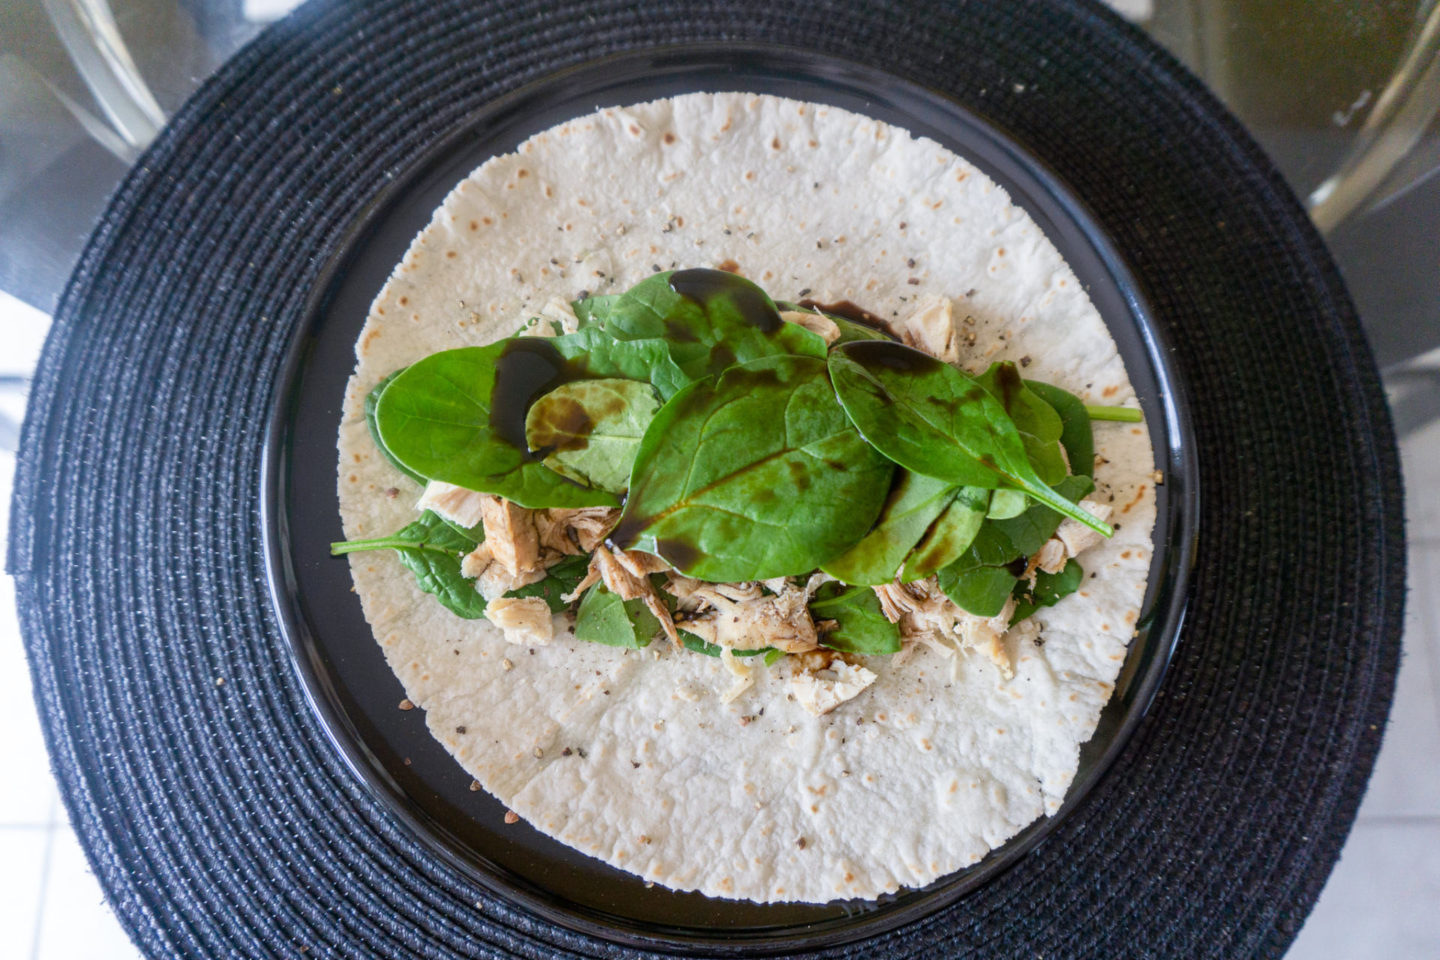
Step 6
Step 7, my first “roll” 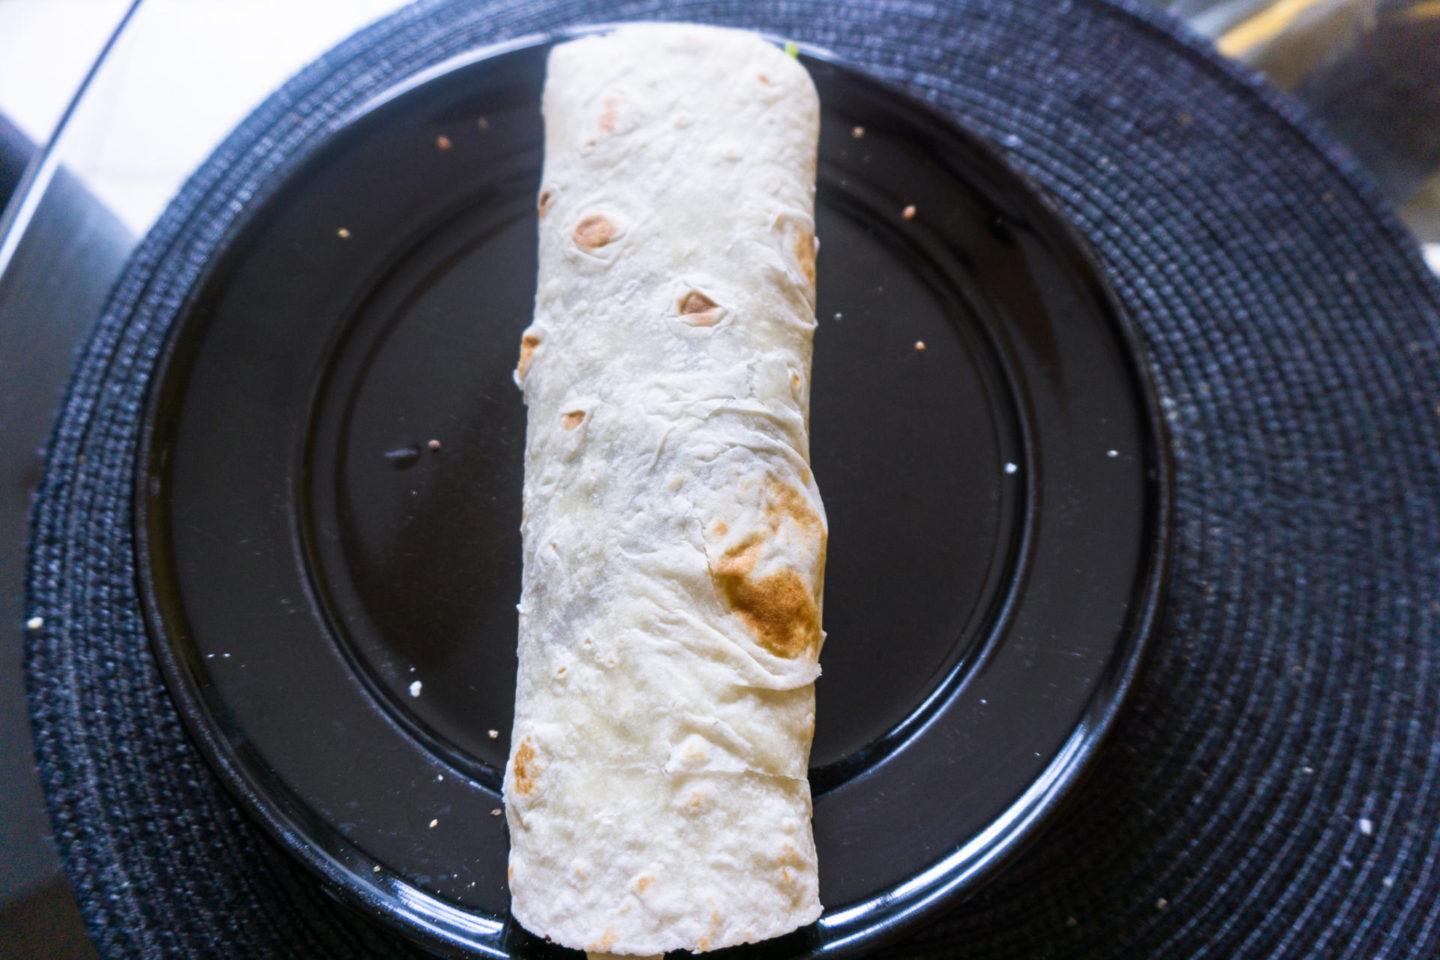
Step 7 complete

