Welcome back to Flawless World’s pick of the month! Times are dark and uncertain right now, which is why I wanted to shine a light on a makeup brush that has literally changed transformed my makeup routine. The result? A fresh, skin-like glam moment of chiseled galore.
April’s pick of the month is the $6 contouring brush from e.l.f Cosmetics. Below I’ve broken down what it is, why I love it (besides the ridiculously affordable price point), and how I use it to achieve flawless glam.
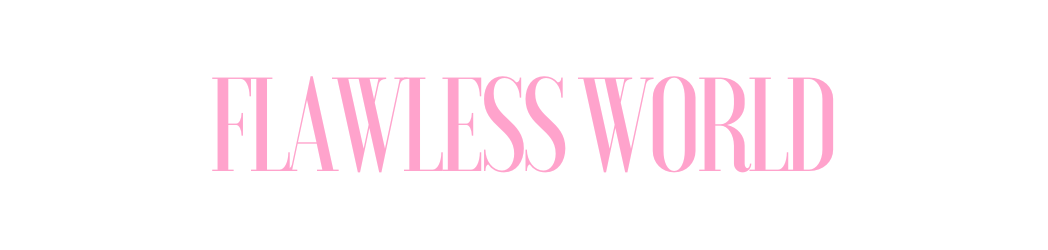
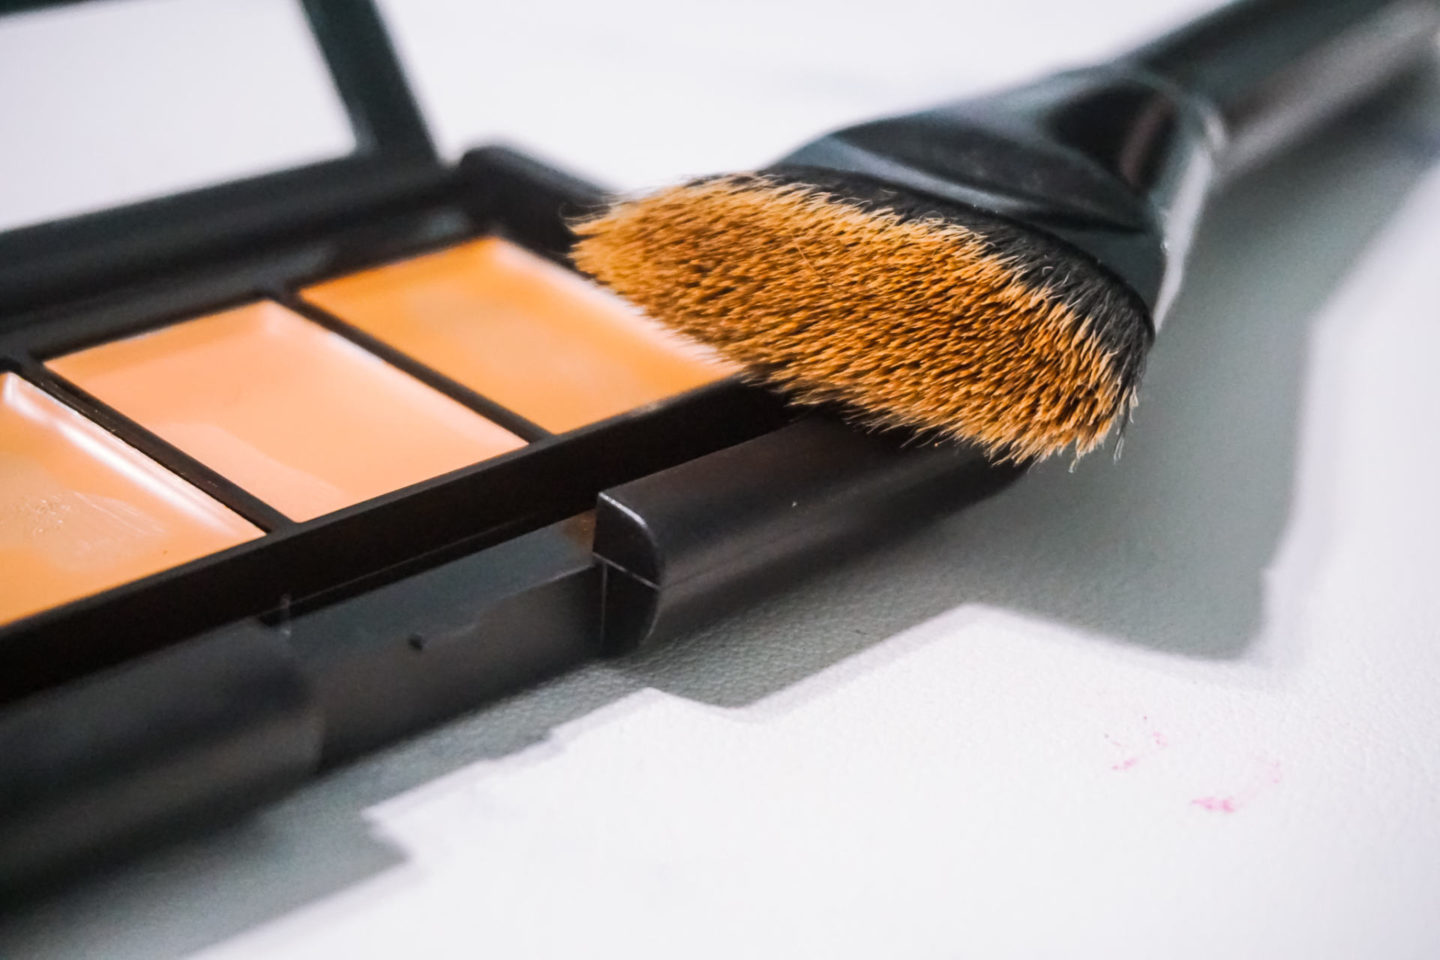
what is it?

contouring brush
[From the e.l.f Cosmetics website]: “This brush is specifically designed for advanced makeup application to help achieve professional looks. The densely packed hair and structured shape achieve flawless dimension along the cheekbones, forehead, and jawline for targeted contouring. Perfect for using with pressed or loose bronzer powder, liquids, and creams to create beautiful sculpting all over the face. This brush is made by artisans with expert craftsmanship to cut, shape, and hand-assemble the ultra-fine synthetic hair for a luxurious experience. This cruelty-free brush is made with 100% animal hair-free, synthetic bristles.”price point: $6
where to buy:
I bought this brush in-store at Ulta Beauty. I also know that this specific brush is sold online on the Ulta Beauty website (ulta.com), as well as the e.l.f Cosmetics website (elfcosmetics.com). Check your area to find a retailer near you that sells e.l.f products, or feel free to place the order online. (PSA: e.l.f usually has really good shipping deals and free gifts when you spend as little as $25! Recently they had a sale with free shipping on purchases $15 or more!)
why i’m loving it:
This brush is great for all levels of makeup-expertise, but it’s especially perfect for beginners. Although I consider myself a little past the beginner stage, I’m using this now more than ever. (I guess that’s the natural order of things, once you start learning you discover new ways to use everything that you already have and are opened up to the versatility of certain products.) The way this brush is designed makes it easy for everyone to contour–seriously, the angle of this brush couldn’t make it any more simple. Though I currently prefer cream contour over everything, powder contour was my previous go-to, and this brush worked just as well with that.
I also love how affordable and high-quality this brush is. I never mind paying for things that are worth it, so being able to score a really good brush at an even better price makes it all the more worthwhile. Much like the description from the e.l.f website, the brush does fit all the contours of your face beautifully. I love how easily it applies product and how easily you can blend and re-shape the dimensions of your face using this brush.
how i use it:
Below I’ve broken down step-by-step instructions on how I use this brush to contour my face. I’ve also included a video tutorial at the end with additional step-by-step visual instructions to demonstrate how I transform my face using this brush and technique.
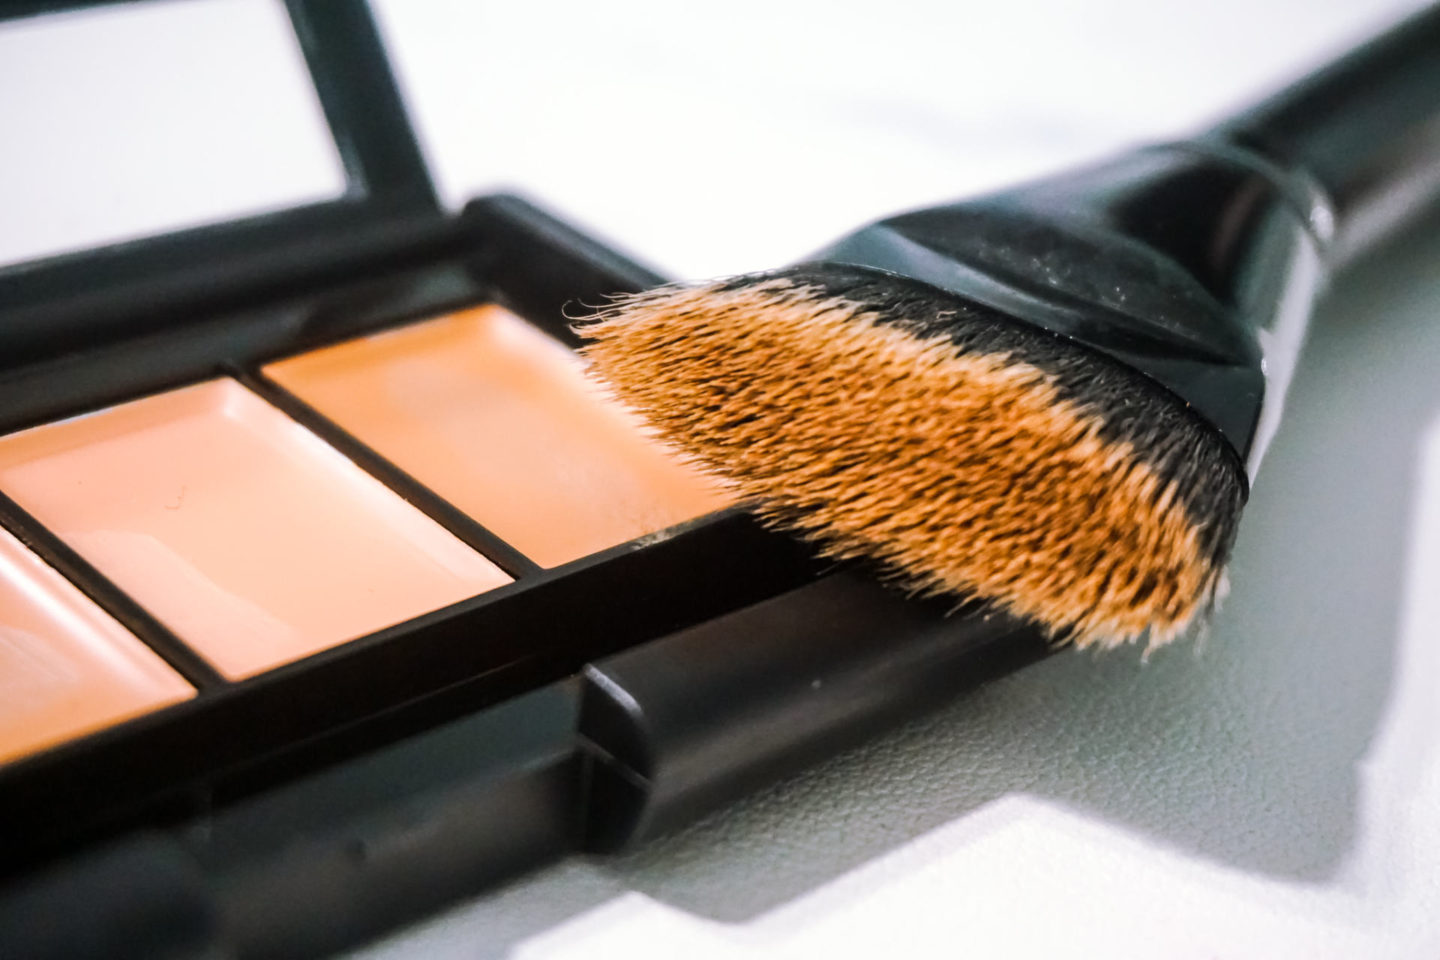
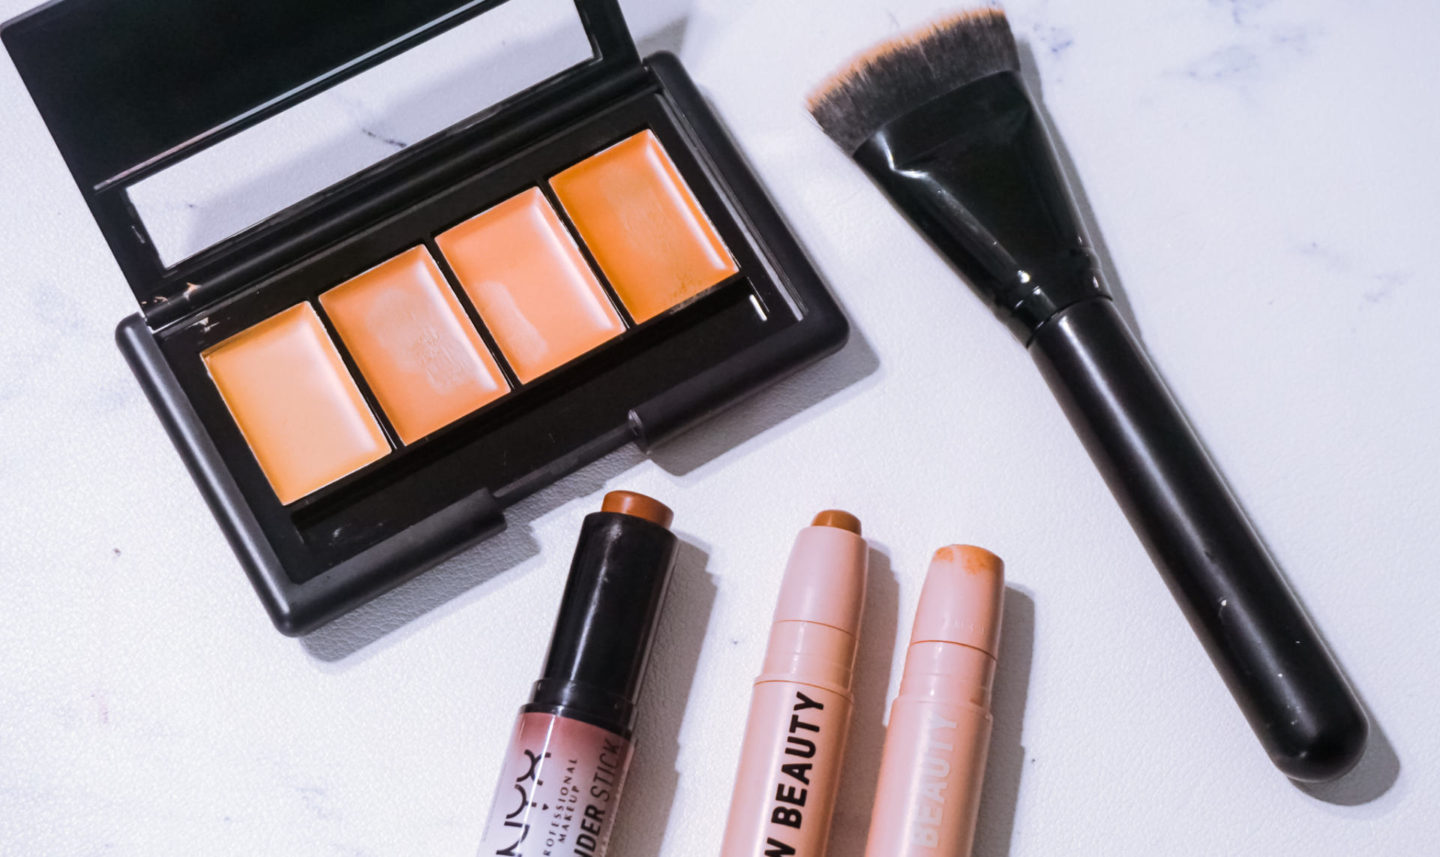
1: [After I’ve applied and blended out foundation and concealer on my face] Take contour product and apply it directly onto the brush.
Side note: I use cream contour sticks which is why I add it the way I do (as will be evident in the video), but you can take any cream, powder, or liquid product and pick it up with the brush directly as well.
2: Apply the product to the desired areas you want to contour using a dotting/tapping motion. This avoids picking up any product underneath where you contour, and also helps it look and blend more seamlessly into the face.
Side note: In the video you will see how I apply contour to my face on the cheeks, along the jawline, and forehead. I apply contour to these specific areas of my face because of my face shape, this specific contour will NOT work for everyone!

Tip: learn your face shape and bone structure to figure out what contour works for you. For starters, try starting off by contouring underneath the cheekbones and go from there. Do your research—it’s vital!
3: Blend it out using the same dotting/tapping motion.
Side note: this step will be fairly fast because of how the contour was applied, and you may even find that you don’t need to go over certain areas very much; that’s just fine.
Tip: do NOT try blending with a back-and-forth motion. You’re more liable to pick up excess product (like foundation) and it won’t make the contour look as seamless when finished.

4: Take your foundation and marry the contour and concealer; this will help achieve that seamless look and truly bring everything together.
Tip: a light, light-medium, or medium-coverage buildable foundation is absolutely perfect for this. I personally use a light-medium coverage foundation with buildable coverage. (I use the L’Oreal Paris true match lumi foundation + the L’Oreal Paris true match lumi glotion.) Having a foundation with buildable coverage not only helps blend the product out better, it helps avoid that cakey-look.
Side note: it may seem like you’re adding a lot of excess product but trust me, you’re not!
5: Set with setting powder. I use a damp sponge to add the powder and gently press it into my face, specifically over the areas I contoured. The pressing motion will help avoid any product pick up. After this I move onto eyeshadow.

6: Lightly dust off setting powder. (I use a big fluffy powder brush, as shown here.) I dust off my powder before I apply mascara. Once the powder is dusted off, I finish my makeup normally (typically finish with blush, highlighter, brightening powder, and lips).
Tip: if you feel like you’re picking up product with the brush and it’s making your skin look scaly, try lightly pressing the brush into your face.
7: Set with setting spray and you’re good to go!


Great post. I was checking constantly this blog and I am impressed! Extremely useful info specially the last part 🙂 I care for such info much. I was looking for this particular info for a very long time. Thank you and good luck.
Author
Thank you so much! I’m so glad that you found it so helpful 🙂